Job Change Quests
Help Edit The Wiki! Click Here to Register Now!
From Fiesta Wiki
Contents |
Introduction
Throughout your gaming experience in Fiesta, you will encounter various times where you will be presented with an opportunity to advance your "job," or class. As of now, there are two opportunities to do so: Once at level 20 and once at level 60.
There is NO job change at level 80, nor is there from 81-119.
Level 20 Job Change
The difficulty level is somewhat dependent on your class. Assuming base stats, a mage will have the hardest time. However, with the use of scrolls, there should not be any great difficulty. It is not recommended to enter the dungeon without some kind of temporary stat boost, eg. Endure buff, Vitality + HP + Defense scrolls. More details follow.
Preparations
You're encouraged to have the following at hand:
- Surplus of HP and SP Potions (stones are less useful in certain situations - see below)
- A few sets of Aim, Vitality, Defense, and Evasion scrolls for the dungeon
- Elderine/Roumen scrolls to save time walking around
- Your favourite mover
Note: at low levels, having a vitality scroll + buff means the amount of HP healed by a HP stone constitutes a tiny proportion of total HP, and may lead to panic
Starting the quest
Each class will have to meet their designated NPC to complete different missions before being directed to Grand Master Sean for the Dungeon of Shadows.
Before you go to Grand Master Sean for the last part, make sure you have stocked up on all your HP/SP stones, potions and scrolls. This will save some time traversing the Forest of Mist.
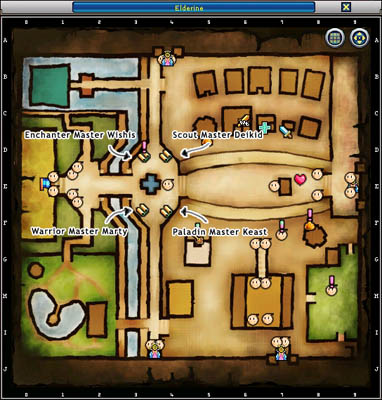
- Mages have to seek Enchanter Master Wishis.
- Archers have to seek Scout Master Deikid.
- Clerics have to seek Paladin Master Keast.
- Fighters have to seek Warrior Master Marty.
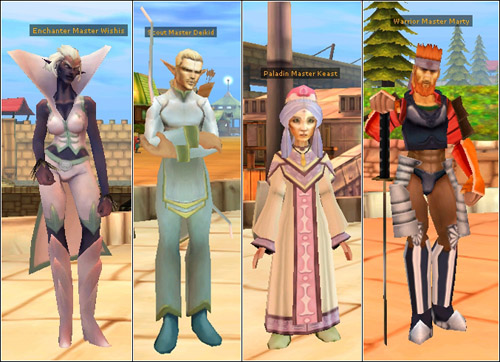 Quest NPCs Left to Right: - Enchanter Master Wishis, Scout Master Deikid, Paladin Master Keast, and Warrior Master Marty |
Mages
The task for mages is to defeat 10 Boars. These are plentiful in the center of Forest of Mist.
Archers
The task for archers is to defeat 10 Slimes. You can only find these outside Roumen.
Clerics
Clerics need to present their skill master with an SP Potion (Tier 1).
Fighters
Fighters must deliver a letter to Skill Master Ruby in Roumen. They then have to return to Warrior Master Marty to be sent to Grand Master Sean.
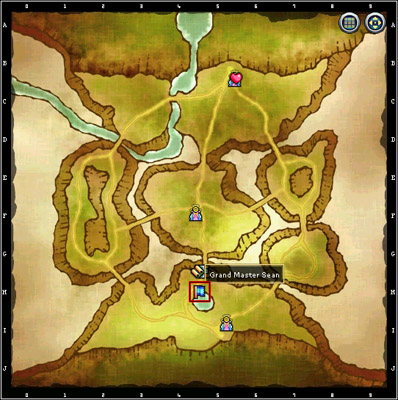
Grand Master Sean can be found in Forest of Mist:
Dungeon of Shadow
Grand Master Sean will ask you to fetch him the Shadow Key ![]() to get into the Dungeon of Shadow. You can kill any monster in the Forest of Mist to get the key (the key is an actual drop). When you give him the key, you will be prompted to confirm your entry into the dungeon.
to get into the Dungeon of Shadow. You can kill any monster in the Forest of Mist to get the key (the key is an actual drop). When you give him the key, you will be prompted to confirm your entry into the dungeon.
You need to have spoken to Grand Master Sean before the shadow key will appear as a drop.
Before entering the dungeon, enable the scrolls (Aim, Defense, Vitality, and Evasion are recommended), and have an Endure buff if possible.
You will have 20 minutes to complete this part.
Tips
- Shadow stats-
- Shadow Fighter: 7980 HP
- Shadow Archer: 5563 HP
- Shadow Cleric: 5260 HP
- Shadow Mage: 4468 HP
- Death in the Job Change quest will not result in the loss of experience.
- The Dungeon of Shadow is similar to a KQ. You can obtain KQ titles from this instance.
- All those groaning about the difficulty of this beginner quest show utter disregard for Scrolls.
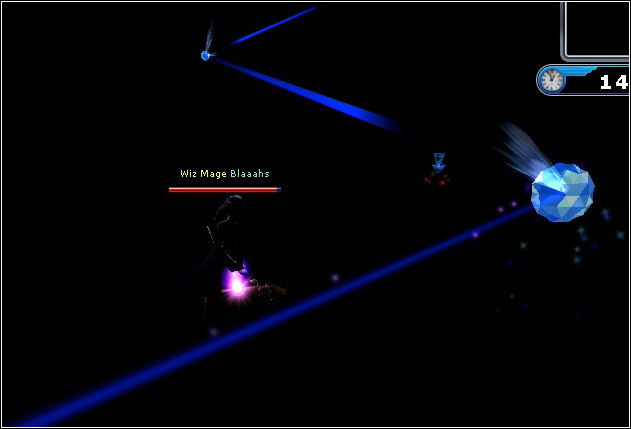
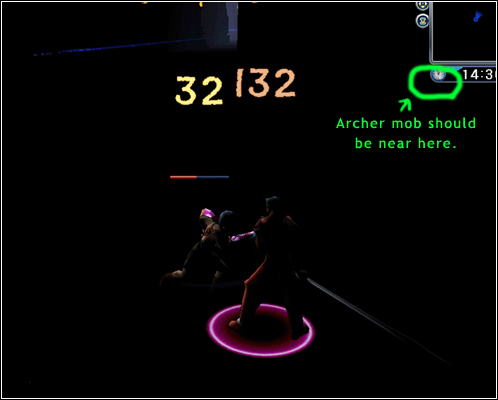
- It is helpful to have taken out the Shadow Marlone Clan members before the final room. In the first dark hall, navigate towards the corners. The strange lighting should allow you to see the bleak outlines of these enemies. If you defeat the two mobs here, you will not need to deal with them when you fight your shadow and stone golems later.
- If you have been kindly Endure buffed and arrive at the final battle in the dungeon with a tier 2 vitality scroll, beware that your HP stones will still heal the normal amount of HP - do not let your HP settle too low. You may have a much bigger HP reserve, but the rate at which you can heal has not changed.
Myths
The biggest myth of them all is that your shadow has a replica of your character's equipment. While visually this appears to be the case, in all practical manners the shadow is a just regular enemy with predetermined stats. Approaches such as the 'naked methods' are recipes for disaster. The honest admission of receiving upwards of 100 damage through such approaches tells all - with all your equipments and a defense scroll, the damage received from the shadow characters fluctuates about 30 - 40 (depending on your class). In fact, the only effect your character has on its shadow is visual; attempt these ill-advised approaches at your peril.
Overview
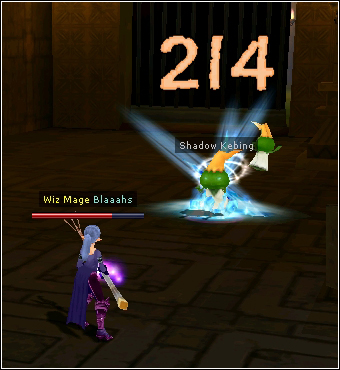
Upon entry to the dungeon, you will meet your shadow for the first time. If you used scrolls, then the short battle that ensues is trivial. The shadow will flee after its HP has been reduced by a few hundred points, but you may not follow until it has moved far away. Follow the shadow and encounter 2 Shadow Kebings in the corridor. Again, these are trivial if you have scrolls on. Beware that using ranged attacks at the corner may cause your character to become stuck (and you will have to try again).
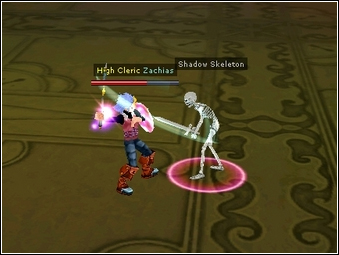
The door to the next part opens when the two Shadow Kebings fall. In this hall, there are 3 skeleton archers and 3 skeleton warriors. Pick them off one at a time. These should pose no problem for a scrolled up character. The doorway to the next part opens once the skeletons are defeated.
In the next corridor, three more Shadow Kebings await. After that, proceed towards the next hall, and suddenly darkness will fall. The way to the final battle is along the light's path, but see tips for a better approach.
When you reach the glowing orb at the end, the room will light up, and if you move back a little, your clone will attack you. At this point, if you have not defeated the Shadow Marlone Clan Fighter and Shadow Marlone Clan Archer in the previous dark hall, they will run towards you and attack you as well. As you fight in this room, the stone figures on the side all around will animate themselves and target you at regular time intervals.
The best approach is not to panic and simply pick off the easy enemies first. The idea is that although you may have a bigger HP reserve with Endure buff and vitality scrolls, you can still only heal as fast as you could before. Therefore you do not want a possible group of 4 enemies hitting 40 each per turn. Start with the Shadow Marlone Clan members if you have not done so previously, then the Stone Golems. If you followed the recommendation of deploying a set of scrolls, you should find that it is sufficient to use only tier 1 potions to maintain your HP reserve. Be calm, and remember not to panic or flee. Due to both HP and SP potion triggering the same cool down timer, if you are not a cleric, be sensible about when you use an SP potion. Clerics should also be sensible about using Heal - if possible, use HP potions instead so that you actually deal damage.
At the end of the quest, after talking to Grand Master Sean to finish it, you will get a level up announcement about your character.
Level 60 Job Change
This job change quest has 3 parts, good luck!
Over Time and Spaces 1
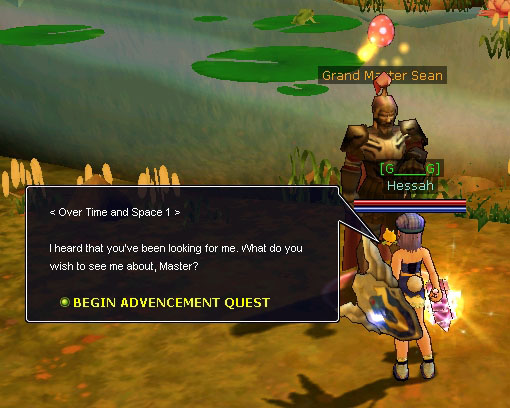
To start the quest, talk to Grand Master Sean in Forest of Mist. He will ask you to deliver something to Town Chief Rumenus, this quest item will appear in your inventory.
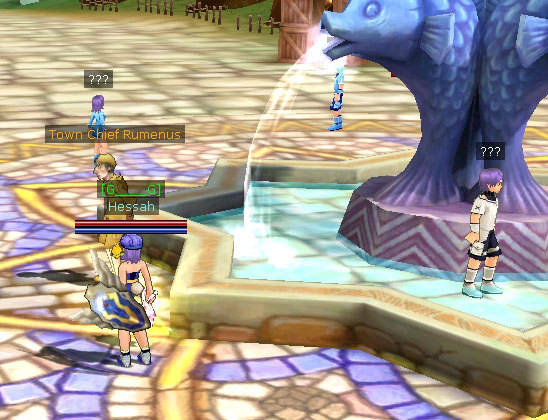
Grand Master Sean will then teleport you to a "fake" Roumen, where you'll see a few level 1 NPCs with "???" as names and Town Chief Rumenus by the fountain. Click on Town Chief Rumenus and all of them will turn into Zombies
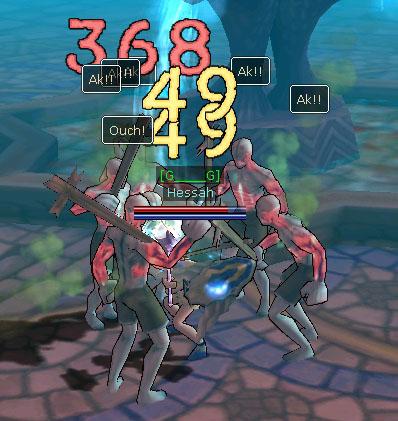
Zombies can cast poisons, but they don't hit too hard (from a Cleric's point of view). Kill all the zombies, work your way up the town to where Grandpa Robin would be and you should find all the Zombies.
When you've killed all the Zombies, (it will count down for you from 10 Zombies), you'll be teleported back next to Grand Master Sean in Forest of Mist. DO NOT talk to Sean again unless you want to kill Zombies again. Go to the real Roumen and to the Town Chief to cash in your quest.
